Using MIDIKey2Key with Home assistant - Sun, Jul 30, 2023
Midi is pretty good for a macropad

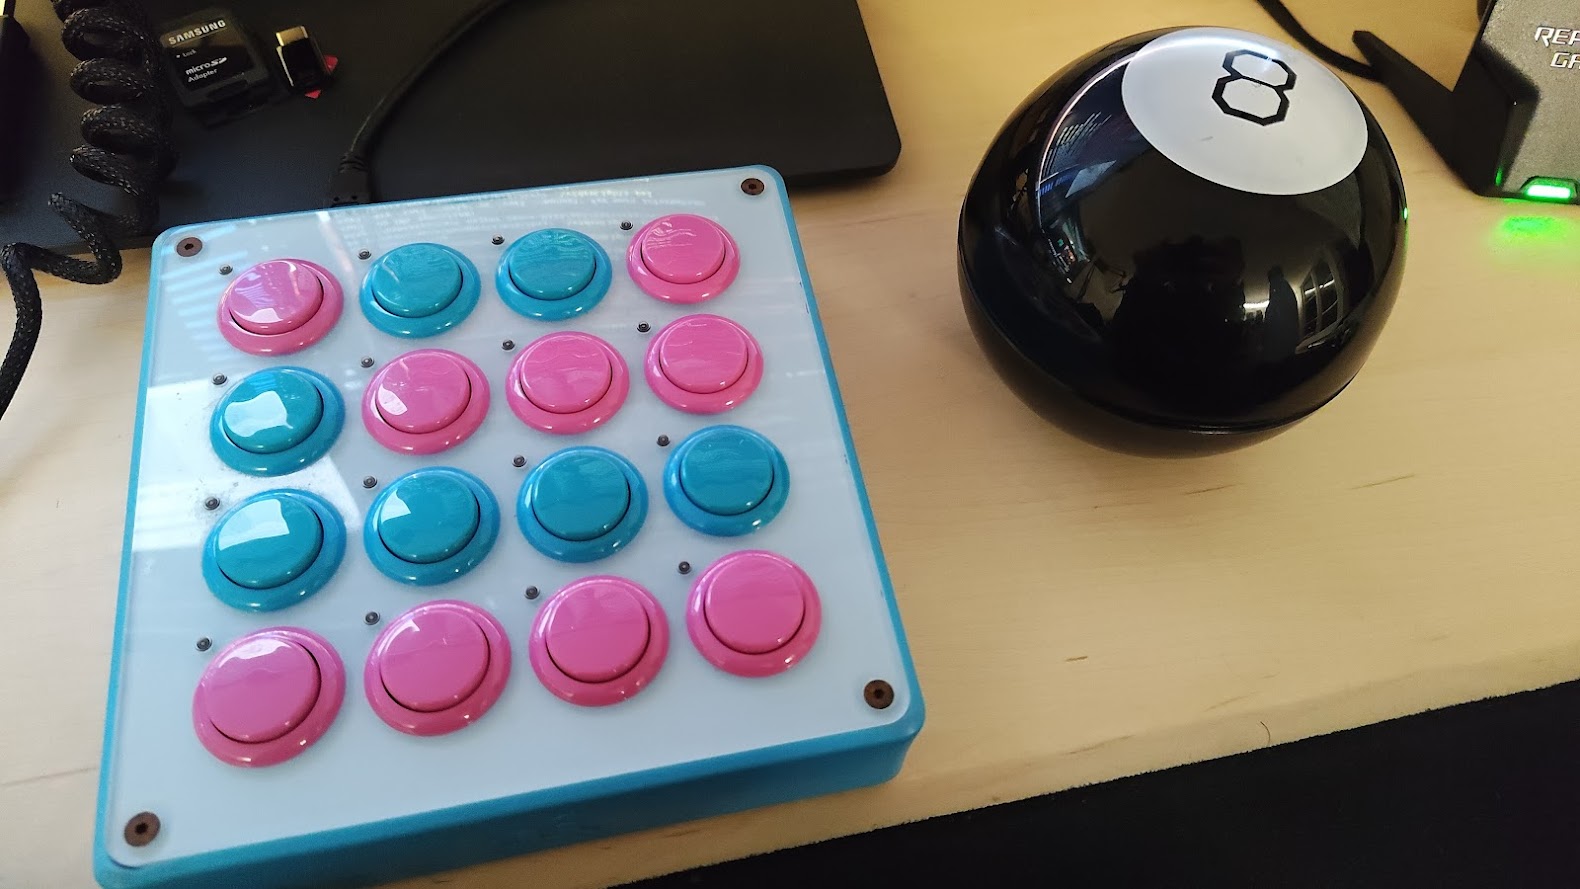
I’ve recently been digging up some old hardware to be used again and found my old Midifighter in beautiful teal and pink. It is #433/500 of the first fully assembled released and since I really like the look of it I just had to start using it again.
Since I’m not using it musically anymore I started to look into other uses for it. Why not as a Macropad?
After a bit of searching I found MIDIKey2Key which can take the Midi input from the Midifighter and use it to start applications, send key shortcuts and, in the end, run curl to send API commands to my local Home assistant.
Home Assistant REST API
The pre-requirements to be able to use the REST API for Home assistant is defined in the documentation but the gist of it is to:
-
Edit the configuration.yaml to add:
api:
-
Go to the bottom of your Home assistant profile to add a long lived token http://homeassistant.local:8123/profile
-
Restart Home assistant
Now go to http://homeassistant.local:8123/developer-tools/service and choose an entity. Change over to YAML mode and you should see something similar to:
service: switch.toggle
data: {}
target:
entity_id: switch.livingroom
This gives you both the service and the entityid which will be used in your API call.
Try to Get state of an specific entity
Lets first try to get the state of a specific service to make sure that your API calls are working:
curl -X GET \
-H "Authorization: Bearer MYVERYLONGTOKEN" \
http://homeassistant.local:8123/api/states/switch.livingroom
And you will hopefully see a good response here!
Change state of an specific entity
Now using the entity_id we can with a POST command change the state of a specific entity with the service switch/toggle:
curl -X POST \
-H "Authorization: Bearer MYVERYLONGTOKEN" \
-H "Content-Type: application/json" \
-d '{"entity_id": "switch.livingroom"}' \
http://homeassistant.local:8123/api/services/switch/toggle
Integration with MIDIKey2Key
To run these commands in MIDIKey2Key it’s easiest to have a file that you can point to when using a shortcut. I created a simple powershell script using splatting for the arguments to have it somewhat easily readable. Do note the use of escape character \ before each double quote (") in the data (-d) for the command.
$CurlArgument = '-X', 'POST',
                '-H', 'Authorization: Bearer MYVERYLONGTOKEN',
                '-H', 'Content-Type: application/json',
                '-d', '{\"entity_id\": \"switch.livingroom\"}',
                'http://homeassistant.local:8123/api/services/switch/toggle'
$CURLEXE = 'C:\Program Files\Git\mingw64\bin\curl.exe'
& $CURLEXE @CurlArgument
- Save it as myLight.ps1 where you can easily find it.
MIDIKey2Key
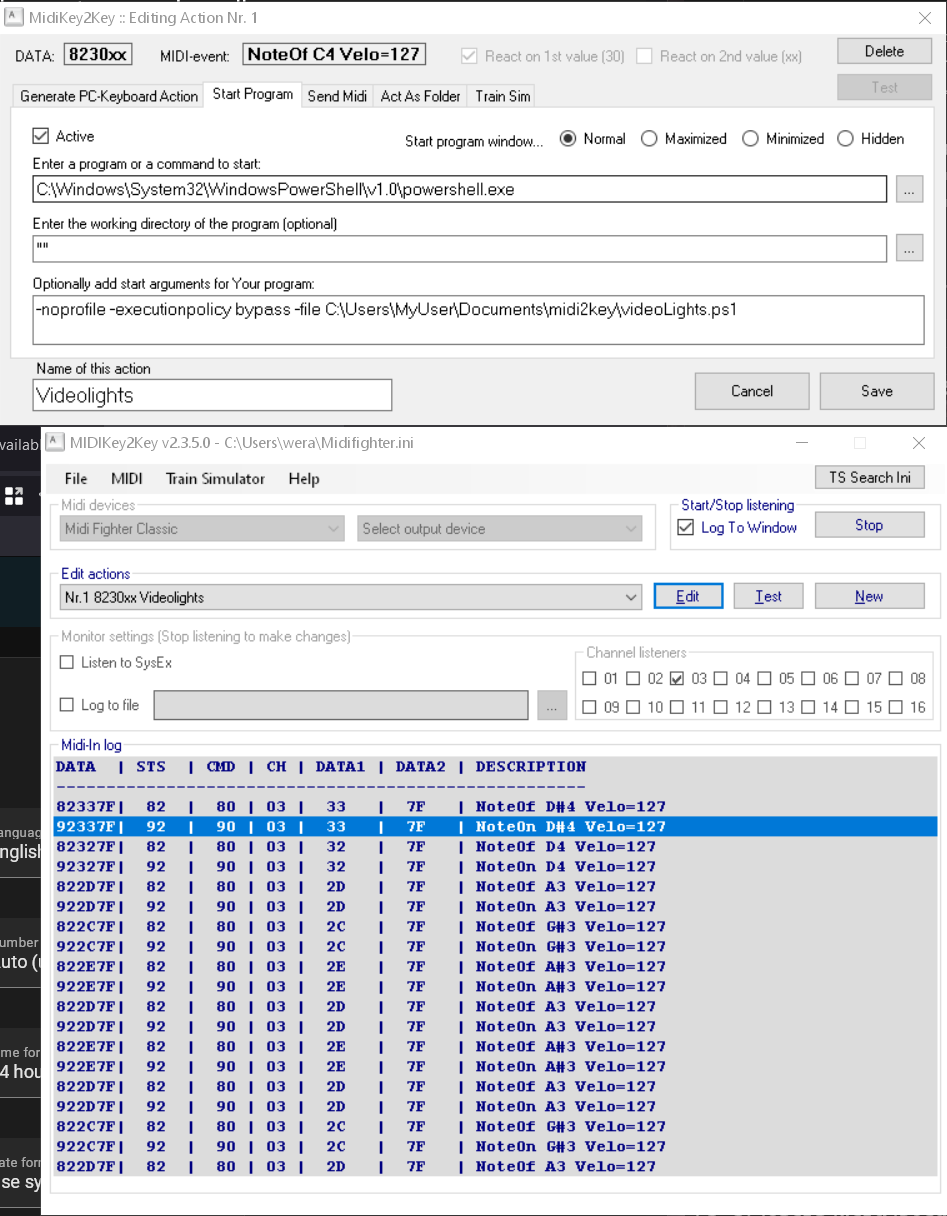
First thing is to identify what Midi channel your device is running at. In my case I started the application, Started listening with logging to the window and all Channel listeners on. My hardware was running on Channel 03, so I disabled all other channel listeners but that.
Then the next step is to click a button with the desired state, such as:
092337F 92 90 03 33 7F NoteOn D#4 Velo=127
You can then double-click that line in the Midi-in log to add an action to it as such:

Home assistant integration
To call Home assistant I basically run the previously saved script to run curl towards my Home assistant API endpoint. The following are the settings for the Action that I am using:
# Enter a program or command to start:
C:\Windows\System32\WindowsPowerShell\v1.0\powershell.exe

# Optionally add start arguments for Your program:
-noprofile -executionpolicy bypass -file C:\Users\MyUser\Documents\midi2key\videoLights.ps1
For other buttons I’ve setup my Google meet shortcuts for Mute/Unmute, Turn on/off video, Raise hand. The row below is used for OBS and the scenes, where in the OBS settings you can create shortcuts to the different scenes and then use those shortcuts in MIDIKey2Key. I use obscure shortcuts such as CTLR+ALT+F7 here so it doesn’t interfere with anything else.
Now to find a use for the rest of the buttons
If you are on Linux you can do it using a simple python script
Find out the port name of your midi device
$ aseqdump -l
 Port    Client name                      Port name
  0:0    System                           Timer
  0:1    System                           Announce
 14:0    Midi Through                     Midi Through Port-0
 20:0    Midi Fighter Classic             Midi Fighter Classic MIDI 1
 24:0    U-22                             U-22 ZOOM U-22 Reserved Port
Use mido to catch the midi event and use requests to send it to home assistant
import mido
import requests

# Send a Toggle switch command to Home assistant to turn on the lamp
def toggle_switch():
    url = 'http://homeassistant.local:8123/api/services/switch/toggle'
    headers = {
	'Authorization': 'Bearer MYVERYLONGTOKEN'
	'Content-Type': 'application/json'
    }
    data = {
	'entity_id': 'switch.livingroom'
    }

    response = requests.post(url, headers=headers, json=data)
    return response.text

def on_midi_message(message):
    if message.type == 'note_on' and message.channel == 2 and message.note == 48:
	# Execute your script or command here
	response_text = toggle_switch()
	print("Note 48 on channel 2 received")
	print("Response from server:", response_text)

with mido.open_input('Midi Fighter Classic MIDI 1') as port:
    for msg in port:
	on_midi_message(msg)
You can now run the script in the background and catch the event. Best thing? It is super fast!